November 9, 2026
In this article, we will cover:
- Why WordPress is a powerful integration for Tapfiliate
- What you need before starting the integration
- Step-by-step setup
- Advanced optional features
- Testing and verification
Overview of Wordpress Integration
Tapfiliate makes it easy to bring powerful affiliate tracking to your WordPress website. Simply install our lightweight plugin and configure the redirect on your “Thank You” page with query parameters. Then use our shortcode to capture affiliate-driven conversions. This is perfect for businesses selling physical or digital products directly on WordPress.With this WordPress integration, you can:
- Track affiliate-driven visits and sales
- Attribute commissions (based on order amount) automatically
- Monitor performance in real time
- Tracking runs when the customer lands on your WordPress Thank You page and the necessary URL query parameters are present.
- Features like subscription renewals, multiple currencies, coupon-code attribution, lifetime/recurring commissions aren’t handled automatically by this basic plugin + shortcode method.
Prerequisites of Integrating with wordpress
To successfully integrate, ensure you have the following:- A Tapfiliate account and your unique Account ID.
- A WordPress site where you can install plugins.
- Your WordPress site must be running PHP version 8.0 or higher. Older PHP versions are not supported by the Tapfiliate plugin.
- A “Thank You” page in WordPress, this is the page users are redirected to after completing payment or checkout.
- Your checkout or redirect process must pass query parameters (e.g. amount, invoice_id) in the URL when redirecting to the Thank You page.
Integration Steps to be completed
1. Install the Plugin
1. In your WordPress dashboard, go to Plugins → Add New.2. Search for “Tapfiliate”.
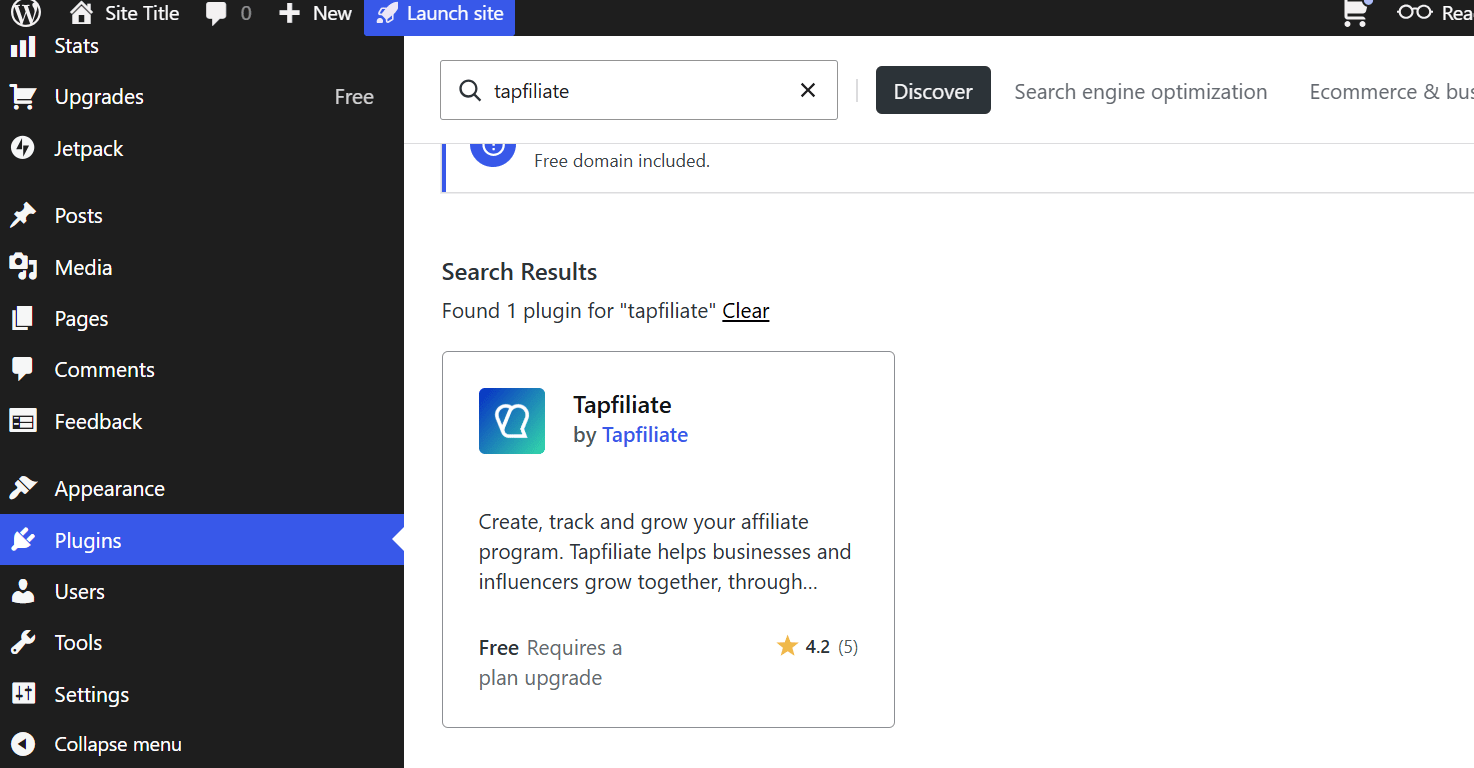
2. Configure the Plugin
- In WordPress Admin, navigate to Settings → Tapfiliate.
- Enter your Tapfiliate Account ID.
- Click Save to store your settings.
3. Configure Redirect URL with Query Parameters
After checkout, configure your payment processor or system to redirect the user to a URL like:https://yourdomain.com/thank-you/?sub_id=1234&invoice_id=5678&amount=100
- sub_id, invoice_id, and amount are query parameters carrying the conversion data.
- Ensure the Thank You page resides on your WordPress site and includes those parameters.
4. Place the Shortcode on the Thank You Page
Edit your WordPress Thank You page and insert this shortcode where you want tracking to occur:[tapfiliate customer_id_query_param="sub_id" external_id_query_param="invoice_id" amount_query_param="amount" currency="USD"]
This tells Tapfiliate:
- customer_id comes from the query parameter sub_id
- external_id comes from invoice_id
- amount comes from amount
- currency is explicitly set to USD
currency_query_param="currency"
You can also view our instruction video on how to integrate your wordpress account with Tapfiliate.
Advanced or Optional Features
1. JavaScript-Based Integration (Instead of Plugin)
If you prefer not to use the Tapfiliate WordPress plugin, you can integrate Tapfiliate manually using JavaScript.You’ll need a third-party plugin that allows custom code snippets to be added to pages.
We recommend using WPCode (previously known as Insert Headers and Footers). Steps:
1. Install WPCode from your WordPress dashboard (Plugins → Add New → Search “WPCode”).
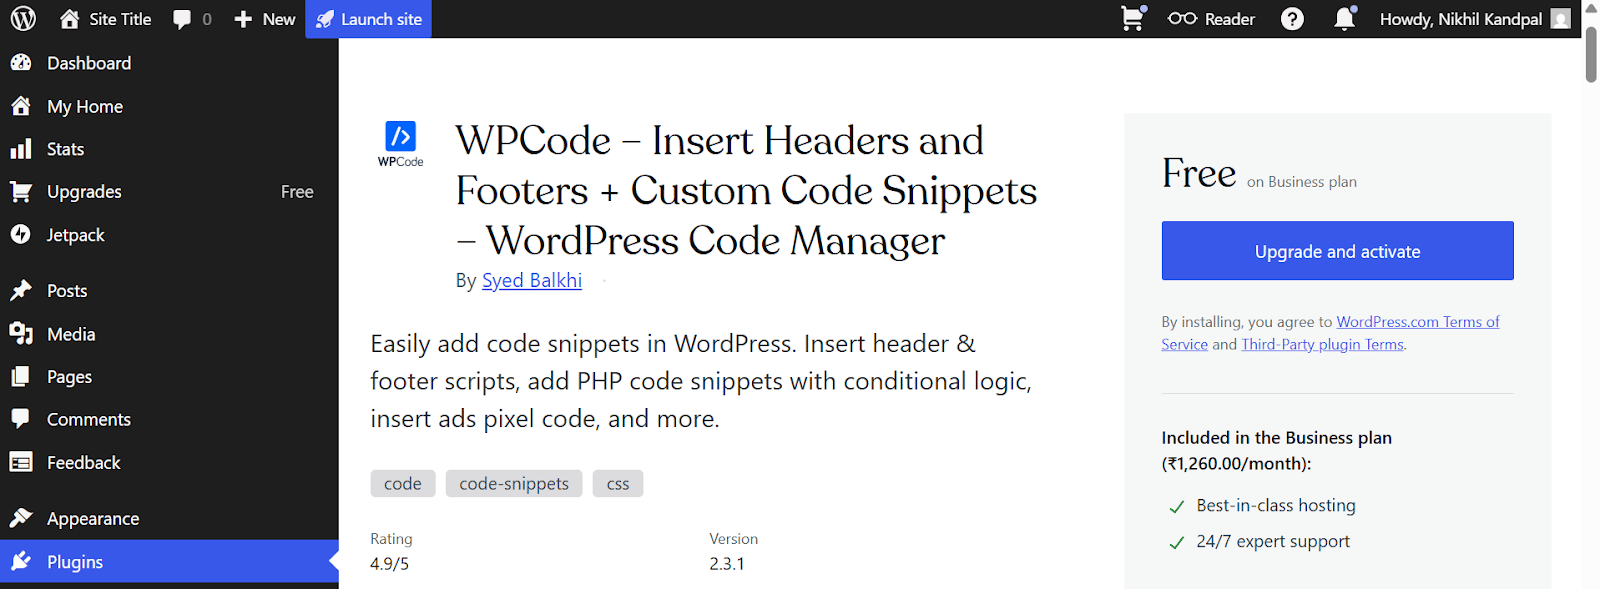
- Create a new header snippet in WPCode.
Create another snippet in WPCode and restrict it to your Thank You page.
Paste this code:
This method is ideal for developers or advanced users who want flexibility or don’t wish to use the plugin interface. 2. PayPal Integration If your checkout process uses PayPal, you can integrate Tapfiliate tracking by mapping the transaction ID (tx), amount (amt) and currency (cc) that PayPal adds to your Return URL in your shortcode. Step 1: Update Your Shortcode
[tapfiliate external_id_query_param="tx" amount_query_param="amt" currency_query_param="cc"]Then click Save. Step 2: Configure PayPal
- Log in to your PayPal Business Account.
- Click the Settings (gear icon) in the top right → Account Settings.
- From the left menu, choose Website Payments.
- Find Website Preferences and click Update.
- Turn Auto Return to “On” and enter your Return URL (your Thank You page).
- Turn Payment Data Transfer (PDT) to “On”.
- Custom checkout systems
- External payment gateways
- Complex affiliate programs that need higher reliability
Test and Verify Your Setup
- Use an affiliate link to visit your site.
- Complete a test checkout or payment.
- Verify that the redirect URL contains the query parameters.
- Check your Tapfiliate dashboard to ensure the conversion is attributed correctly.
Redirect URL after payment:
https://example.com/thank-you/?sub_id=1234&invoice_id=5678&amount=100
Shortcode on Thank You page:
[tapfiliate customer_id_query_param="sub_id" external_id_query_param="invoice_id" amount_query_param="amount" currency="USD"]Result:
- sub_id=1234 → Customer ID
- invoice_id=5678 → External/Order ID
- amount=100 → Sale amount
- currency=USD
- The Thank You page must be on WordPress so the shortcode executes.
- The redirect URL must include all query parameters mapped in your shortcode.
- Missing parameters can cause incomplete tracking.
- For dynamic currencies, use
currency_query_param="currency"if your redirect URL includes ?currency=USD or similar. - Always test the full conversion flow: Affiliate link → Checkout → Thank You page → Dashboard validation.
If you have any questions or if something in this guide is unclear, please don’t hesitate to contact us at support@tapfiliate.com. We’re happy to assist!